A simple guide for creating your own 3D anaglyph photos, with the use of your smartphone and your PC
Here we will provide a step-by-step guide in order to shoot your own 3D photos (!). All you need is a usual smartphone (Android, iPhone or Windows Phone) and a software application in your PC.
Remember from our previous articles, that all you have to do is to shoot two different perspectives of an object. The following guide applies for a still (no moving) object or person.
Remember from our previous articles, that all you have to do is to shoot two different perspectives of an object. The following guide applies for a still (no moving) object or person.
Step 1 of 3:
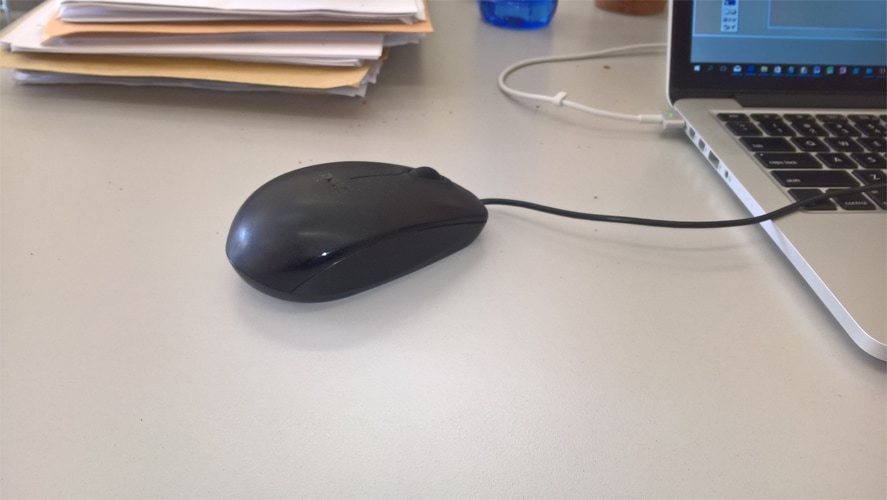
Stay in front of the object you want to shoot. Stay still, center the object in your camera preview and shoot the first photo of the object with your phone’s camera. The photo will be autosaved in your DCIM or Camera Roll folder of your phone, so you don’t have to worry. This will be the left-eye view.
Step 2 of 3:
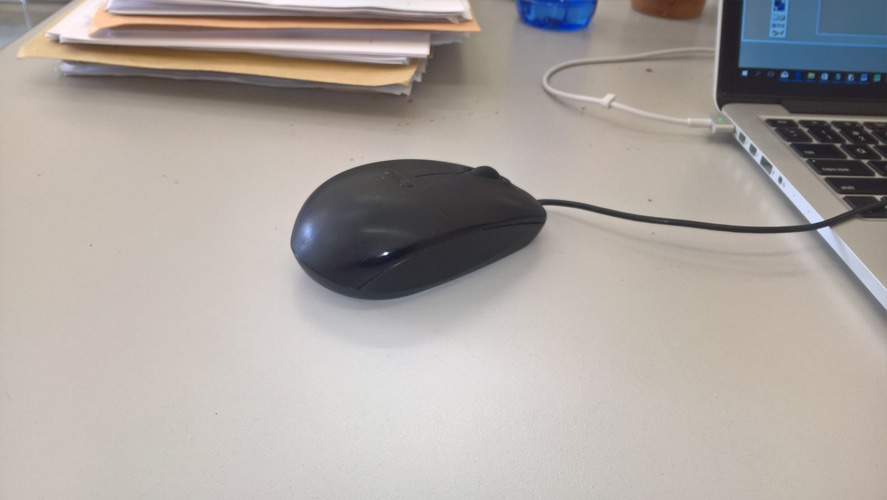
Now, move the camera horizontally only about 2.5 inches (6.4 cm) to the right. DON’T “toe in” the camera (i.e., don’t turn the camera toward the subject as you move it.). Just move it horizontally without turning the camera left, right, up, or down. When you are in the correct position, shoot the second photo. This photo will be the “right-eye” view photo. Again the photo will be auto-saved in your phone as a separate photo.
The only important thing to remember for this step is that the object must stay still.
The only important thing to remember for this step is that the object must stay still.
Step 3 of 3:
We are done with the photos. Let’s go to our PC now to create the 3D. There are plenty of ways and applications to create the final 3D photo.
Here, we will describe the method by using the Photoshop application as an example, but there are tons of different apps available that could provide you with the above functionality.
First, you must copy the two photos from your phone to a new folder in your PC. If you want rename the two photos as left (1st shoot) and right (2nd shoot).
Now, start Photoshop and open the two photos as above. There will be two different sub-windows, one for each photo. Each photo has one layer only, as a background.
Now, select the left photo (click on the window of the left.jpg) and then select the tab “Channels” next to the layers. There will be four channels, all selected (the RGB that have them all, the Red, the Green and the Blue). If you have a Red-Blue pair of glasses, that means that you must select the Red Channel only from the left photo and the Blue channel at least from the right photo.
Now select from the “Channels Actions” the option: Split Channels. Then, the left photo will close and 3 new files will be autocreated inside Photoshop (LEFT_R.jpg, LEFT_G.jpg, LEFT_B.jpg). They appear as grayscale but don’t worry at this step.
Repeat the same procedure for the right photo. Split the channels. Now there will be 6 different files open:
- LEFT_R.jpg,
- LEFT_G.jpg,
- LEFT_B.jpg,
- RIGHT_R.jpg,
- RIGHT _G.jpg,
- RIGHT _B.jpg
Now, let’s merge them in the way we want.
Click on ANY of the above images and select the option: Merge Channels.
Now, select the option Mode: RGB Color and number of channels: 3.
Select the below:
Click on ANY of the above images and select the option: Merge Channels.
Now, select the option Mode: RGB Color and number of channels: 3.
Select the below:
RED Channel of the final photo: LEFT_R.jpg,
GREEN Channel of the final photo: RIGHT _G.jpg,
BLUE Channel of the final photo: RIGHT _B.jpg
Thus, you select what we have described above.
GREEN Channel of the final photo: RIGHT _G.jpg,
BLUE Channel of the final photo: RIGHT _B.jpg
Thus, you select what we have described above.
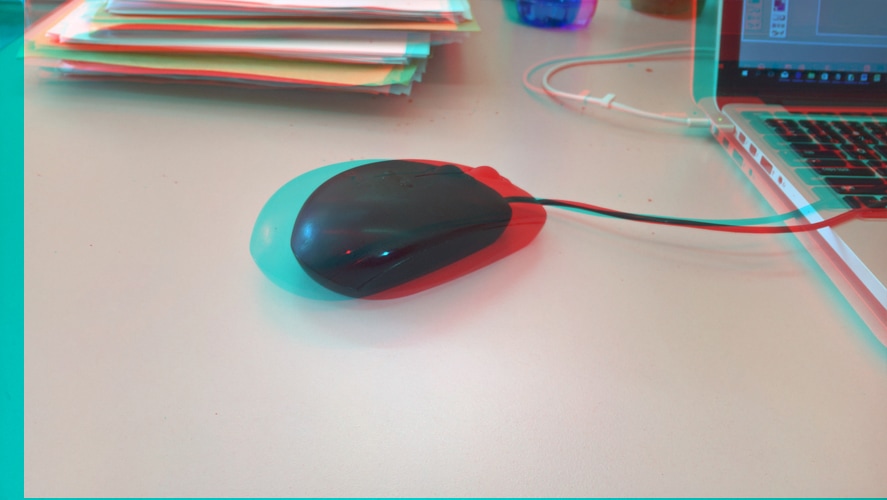
Click on OK and the final 3D Photo will be created. Now it’s time to wear your 3D anaglyph glasses and make one more step before saving and close: The aligment. Select the red layer, click on the arrow of the left bar action and move the RED channel over the two others. When you have a 100% result, stop it. Crop the image if you want (it’s not necessary this) and click on File: Save and…
That’s it. Your new 3D photo is ready to view and shared…
That’s it. Your new 3D photo is ready to view and shared…


